
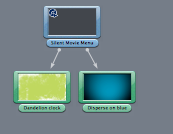
Ok so first we learned about the layout, which is quite similar to after effects which makes it a bit easier to use. Important ot know is in the graphic section there are menus and tracks. Tracks hold videos, whilst menus allow you to create buttons


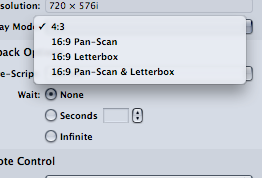
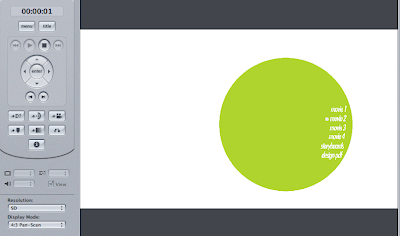
The tracks were set to 4:3 scale, which isn't what we use, we're using 16:9 widescreen, a requirement of the brief, I need to make sure everything I do are in these dimensions which are 1024 by 576 pixels.

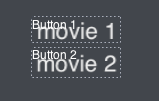
Below are some basic buttons that I created, literally, you can do this by clicking and dragging a marquee which creates a hotspot that you can use to link to tracks or another menu etc.
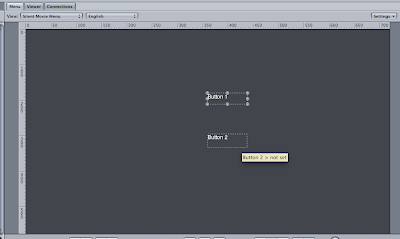

You can then create text that goes along with the button to give a visual signal that there is a hotspot that allows you to progress through the DVD

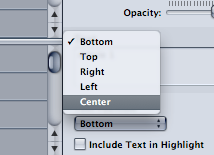
It has to be centre aligned rather than at 'bottom' which means that the button is directly over the text.


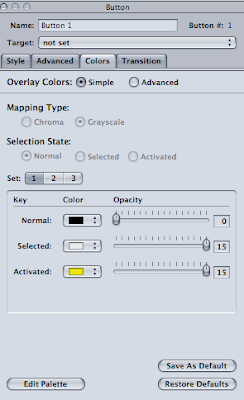
You can also change the colour that the text button becomes when it's highlighted, here I have chnged the setting so the highlight colour is orange:
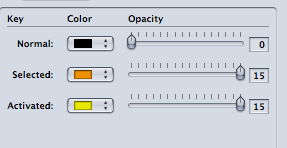


The results of which are below, this is useful in terms of creating really basic logos.

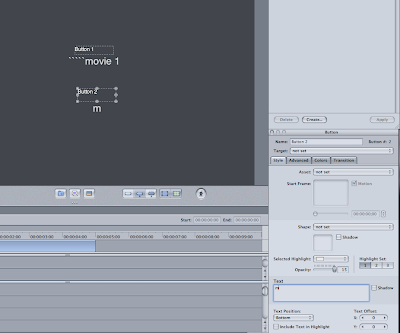
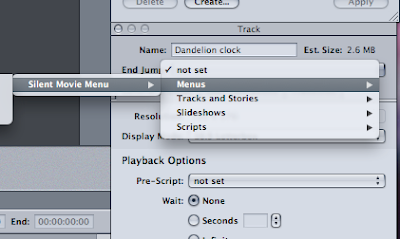
Below is where we learned how to link the button to a track by selecting the target section and selecting the track that we want to link it to.
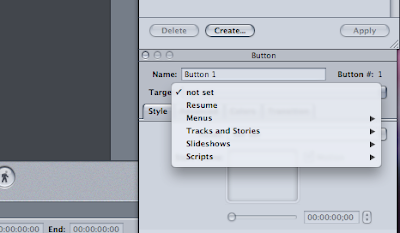

This sets up the flow chart kind of system that we've been drawing out during the week and we can match up the schematic in the graphics pain to the schematic we've drawn out and hopefully resolve any errors.
Finally, we have to link the film back to the menu page once it's done, you do this in a similar way by clicking on the track in the graphics menu, then using the target sction in inspector to select the menu it orginally came from. You can then also select the next button in your menu's list which means that the next movie/option on your menu is automatically highlighted when you come out of the film.

Finally, we have to link the film back to the menu page once it's done, you do this in a similar way by clicking on the track in the graphics menu, then using the target sction in inspector to select the menu it orginally came from. You can then also select the next button in your menu's list which means that the next movie/option on your menu is automatically highlighted when you come out of the film.

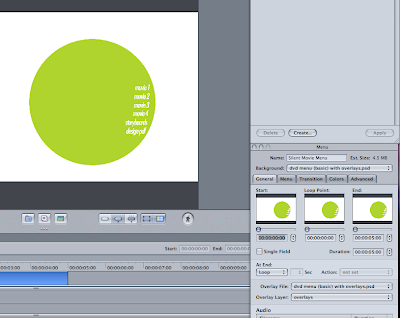
After creating those basic menus, Mike taught us how to import our own menus, this is just a quick tester piece and it looks a bit shonky to be honest but it's useful for me to have grasped the basic techniques. First we needed to create our overlays, which are the little bits of graphic that appear on the words in the menu when they are highlighted. We put them all on one layer and set them to 100% black this has to be remembered as the software only picks up pixels that are 100% black as overlays, this might prove difficult when I try to create a hand rendered approach.
+with+overlays.jpg)
Then we found the overlays and selected them using inspector and used the same section as before when we changed the highlight to orange to make the overlays white.
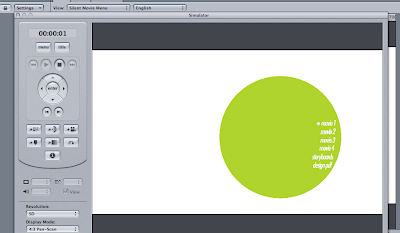
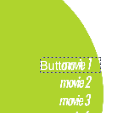 Here I added the buttons to like the menu to the tracks and below is some preview footage of the overlays appearing when they are selected. At the minute it's all very basic, however it could become quite exciting quite quickly.

 Here I added the buttons to like the menu to the tracks and below is some preview footage of the overlays appearing when they are selected. At the minute it's all very basic, however it could become quite exciting quite quickly.

I also worked on making a transition from the menu to the movie, I felt like it looked really odd just appearing and disappearing very suddenly, so i tried to put in a transition. I chose fade through olour which means that it fades to black and then back into the video footage. I reduced the time to 1 second because 2 seconds took too long and felt really awkward. i think the transition tool is going to be a very important part of my DVD menu in terms of creating a more professional vibe to the DVD.


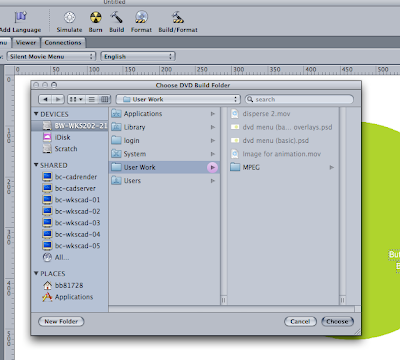
Finally, we were taught how to 'build' it, which allows us to put it into software called toast which can burn it appropriately for us.

All in all, this session was extremely useful in terms of grappling the basics and it's given me some wriggle room to try and get the best out of this DVD as possible. Obviously Mike will be able to tell me what I can and can't do and can probably give me some tips on how to make things look professional. This session has given me a lot of clarity on a subject I felt very apprehensive about, so I feel a lot better about this project now I'm not in the dark.
No comments:
Post a Comment